


When I picked up my 2008 BMW X3 last year used, the first thing I did was order a new BMW X3 Replacement Cabin Air Filter and Engine Air Filter
. Both are fairly inexpensive and both are easy to install – requiring no tools. Here’s how to replace the cabin air filter and engine air filter on your BMW X3. I’ll also go over how to check the coolant level and top it off if needed.
Replacing the Cabin Air pollen filter:
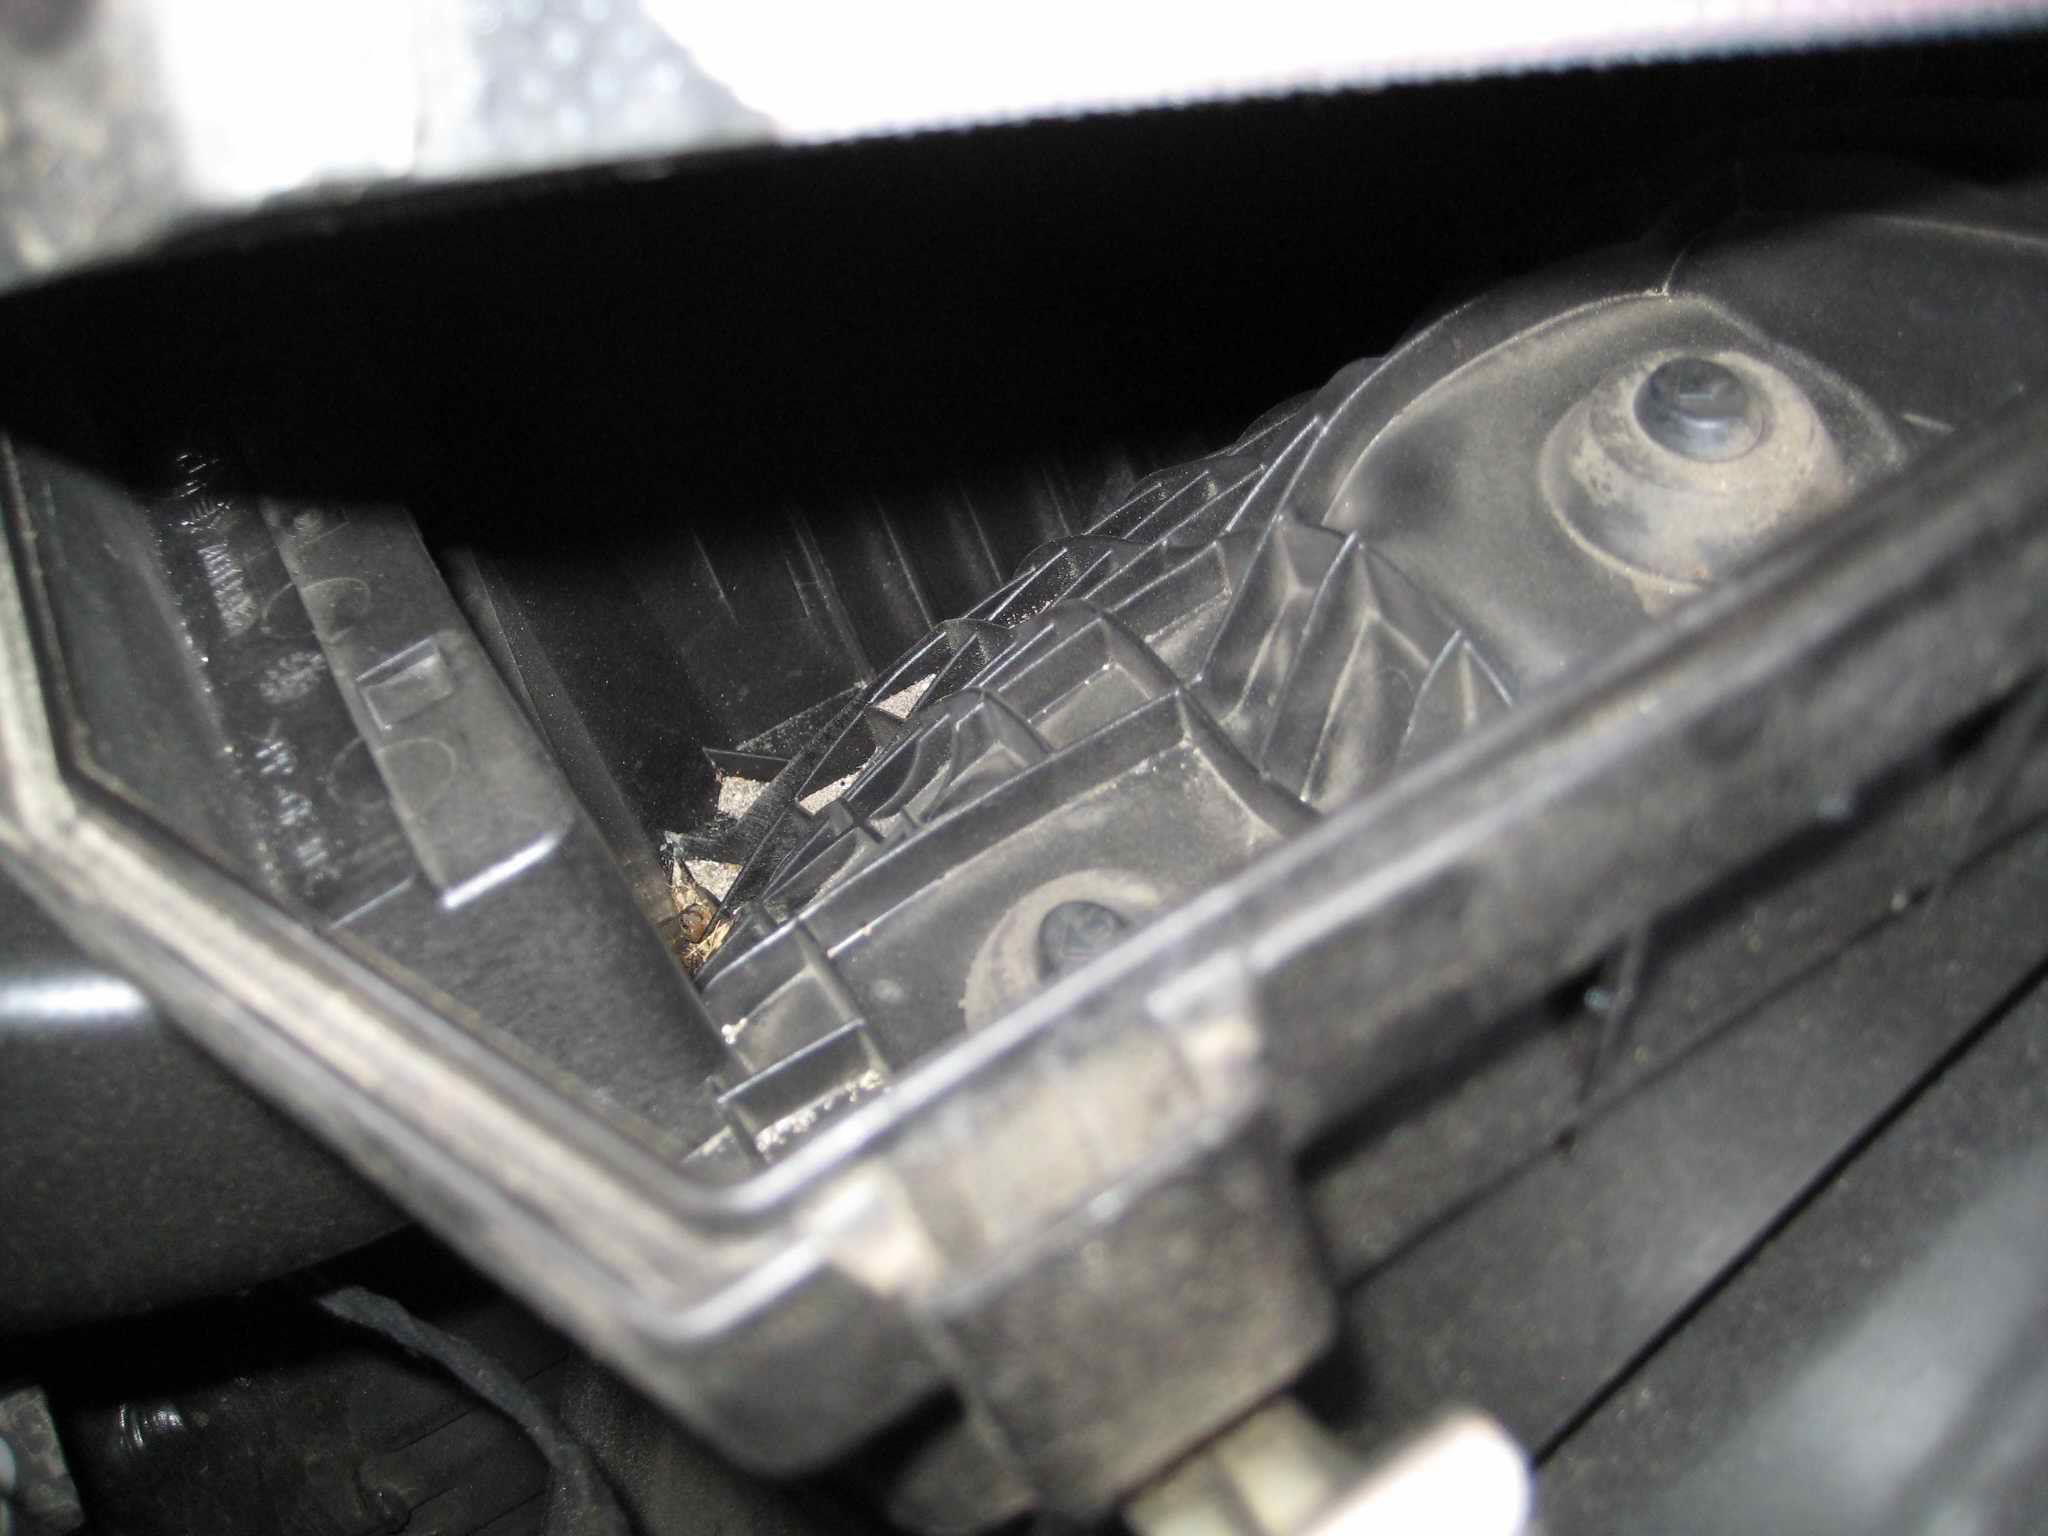
The cabin air filter is in the housing just underneath the windshield, in the center of the engine compartment. Fresh air comes in through the air vents below the windshield, then up through the filter, then into the ventilation system. If you feel under the housing, you can feel the paper filter that’s already installed. There are three plastic spring nuts that you turn less than one revolution to disengage, unlock all three nuts to open the housing, then remove the old filter and install the new one.
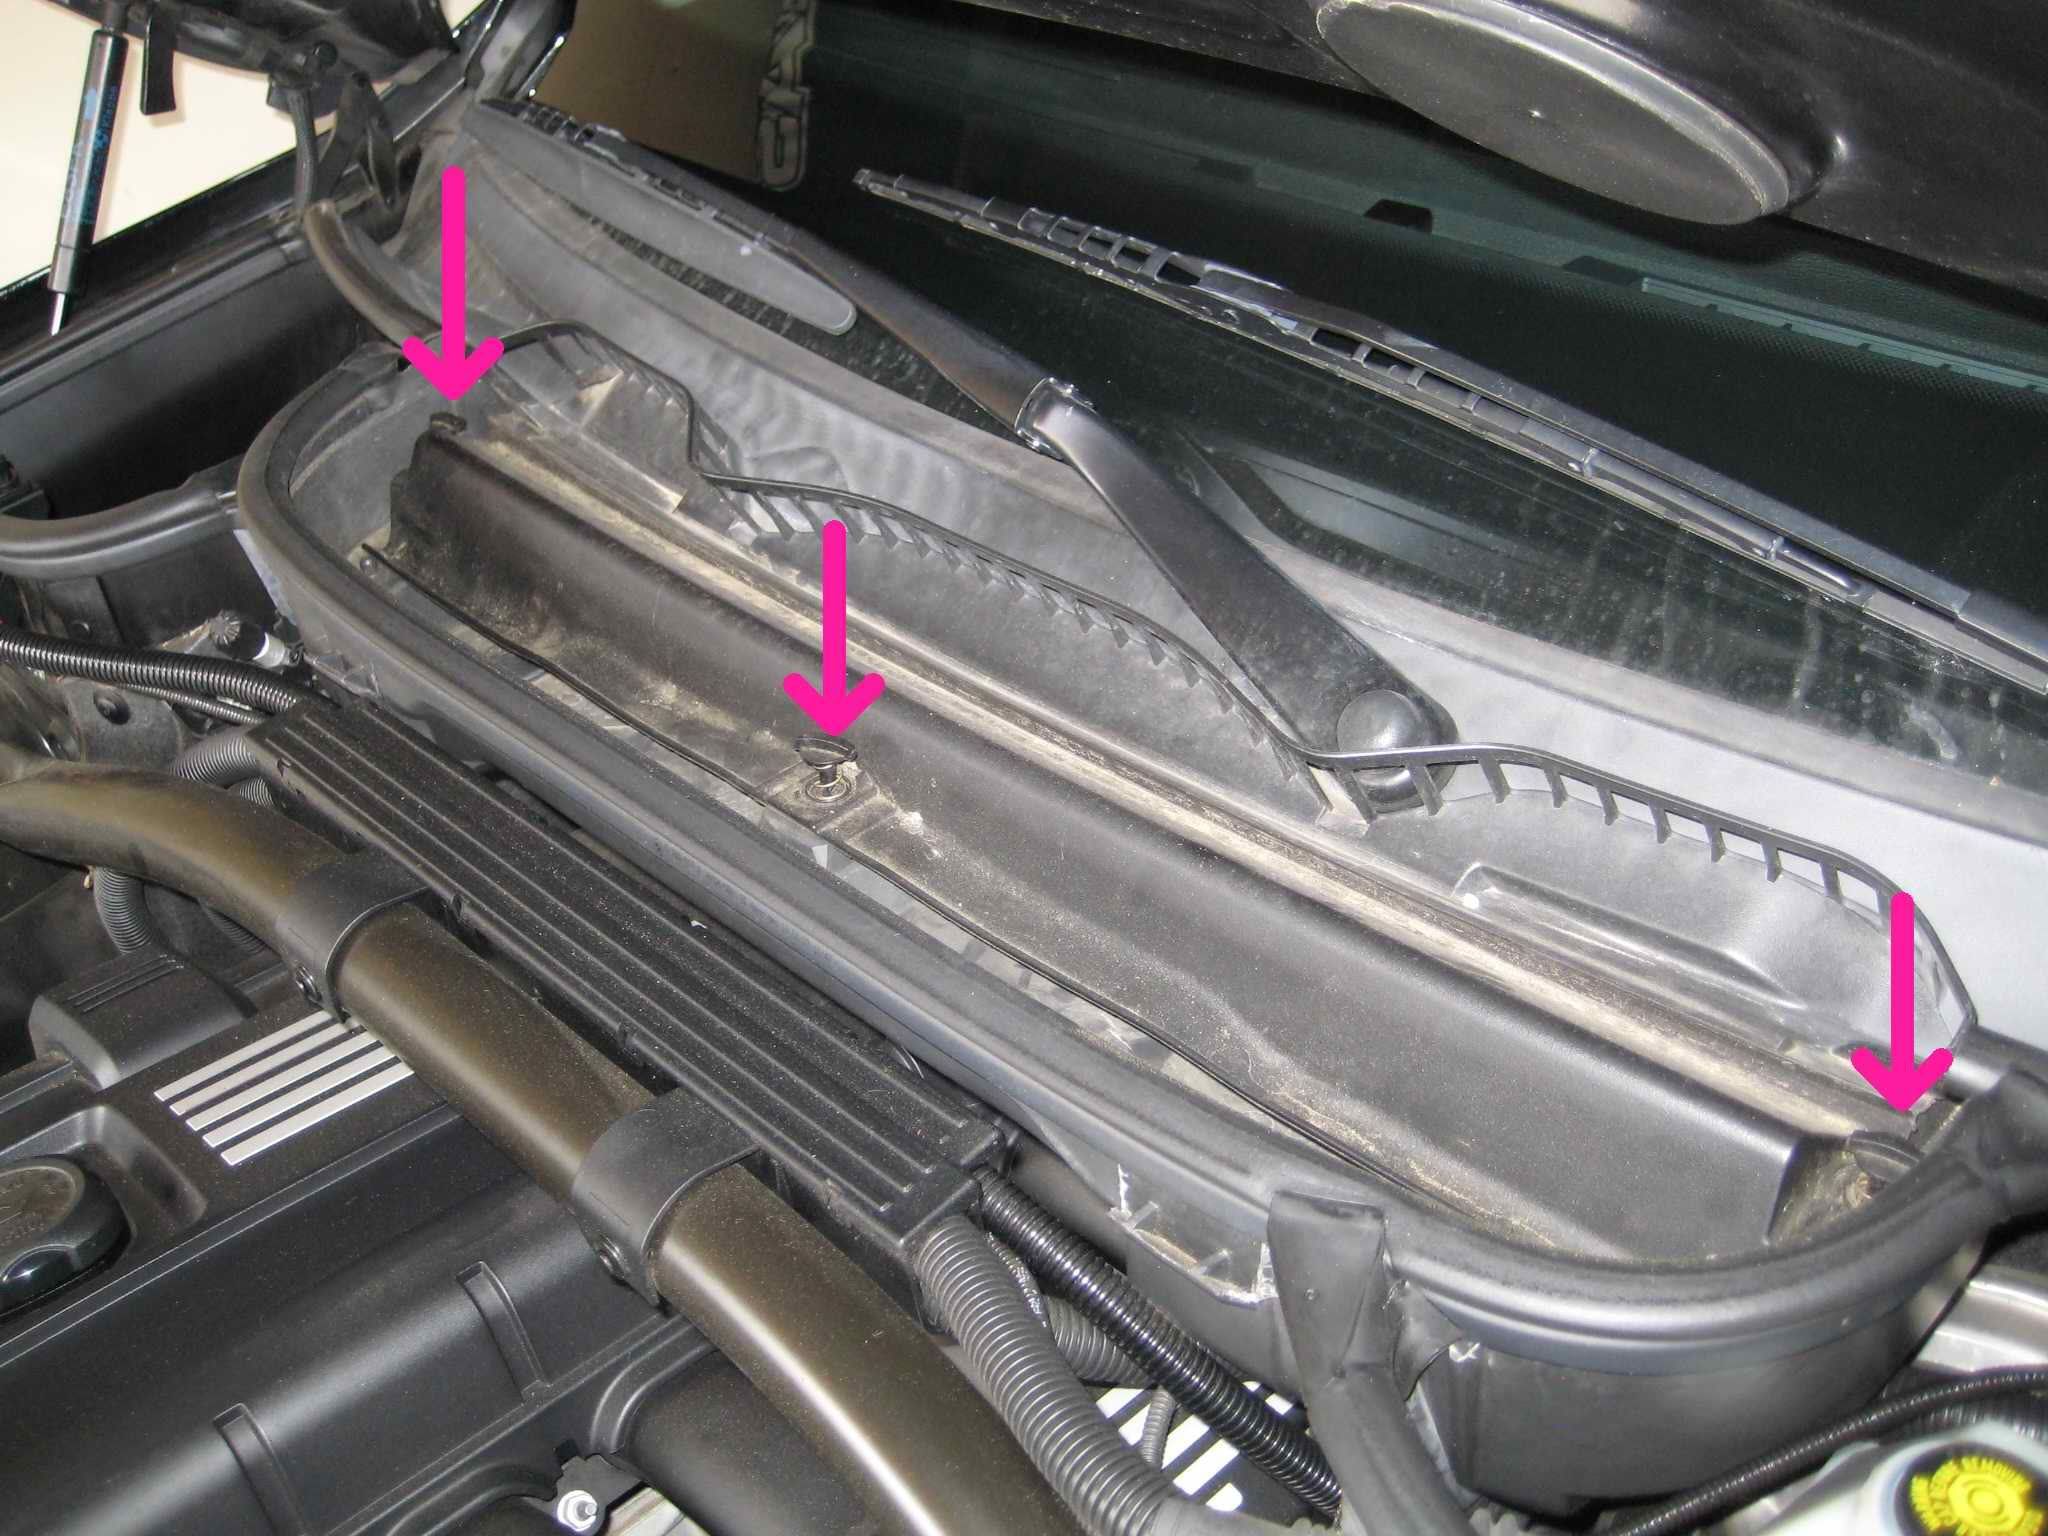
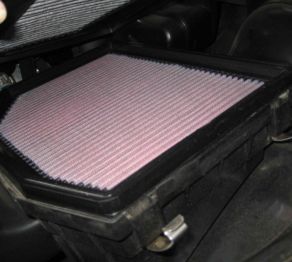
Unscrew the 3 plastic spring tabs to allow the filter door to open
You’ll notice the flow of air goes up when the filter is installed properly, and you should see the dirty part of the old filter is on the bottom. Your new filter will tell you the proper air flow direction ensuring you install the filter correctly. Fit the new filter in so it’s symmetrical and the door closes without interfering. Lock down all three plastic nuts, you should be able to feel the filter firmly secured from underneath.
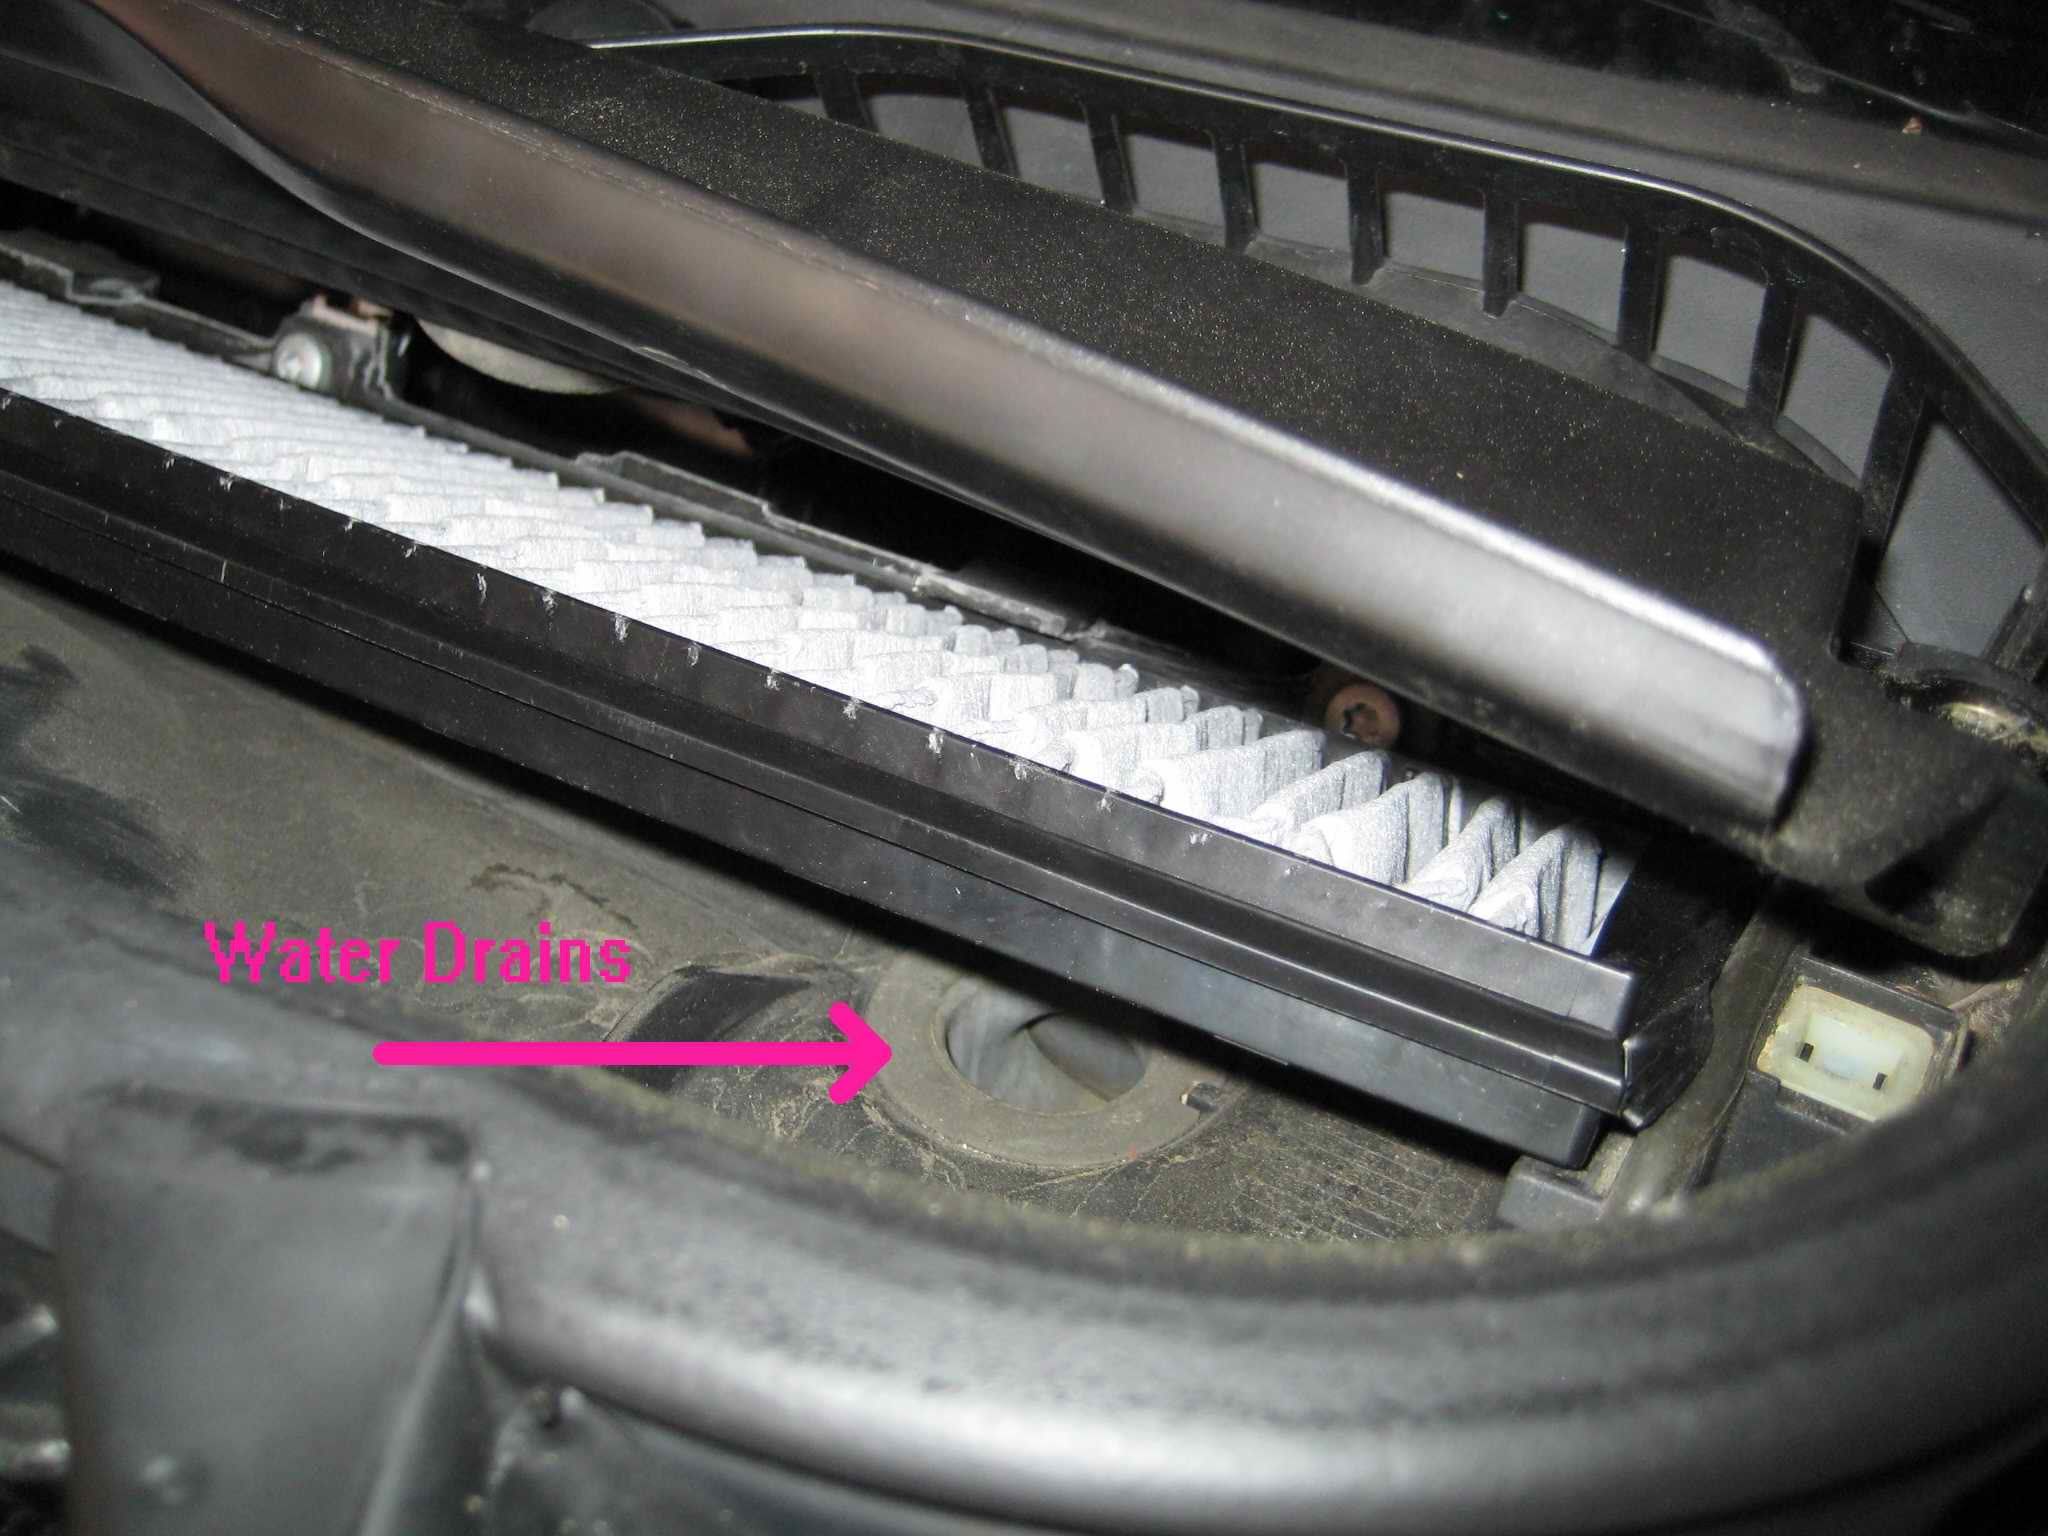
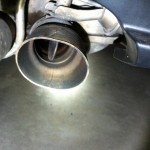
Notice the water drain holes
Notice at the bottom of the air flow channel there are drain holes for rain to escape; make sure these are clear when servicing the cabin air filter. One thing I like about the Mann filter and also this Fram is that they have active ingredients like charcoal to further purify the cabin air.
Replacing the Engine Air filter:
Another easy procedure on the e83 BMW X3 is inspecting and changing the engine air filter element. There are four tabs that need to be unsnapped to access the engine air filter, you can use a flat head screwdriver to pop them lose but for me it was easier and faster to do it by hand. See photo below.
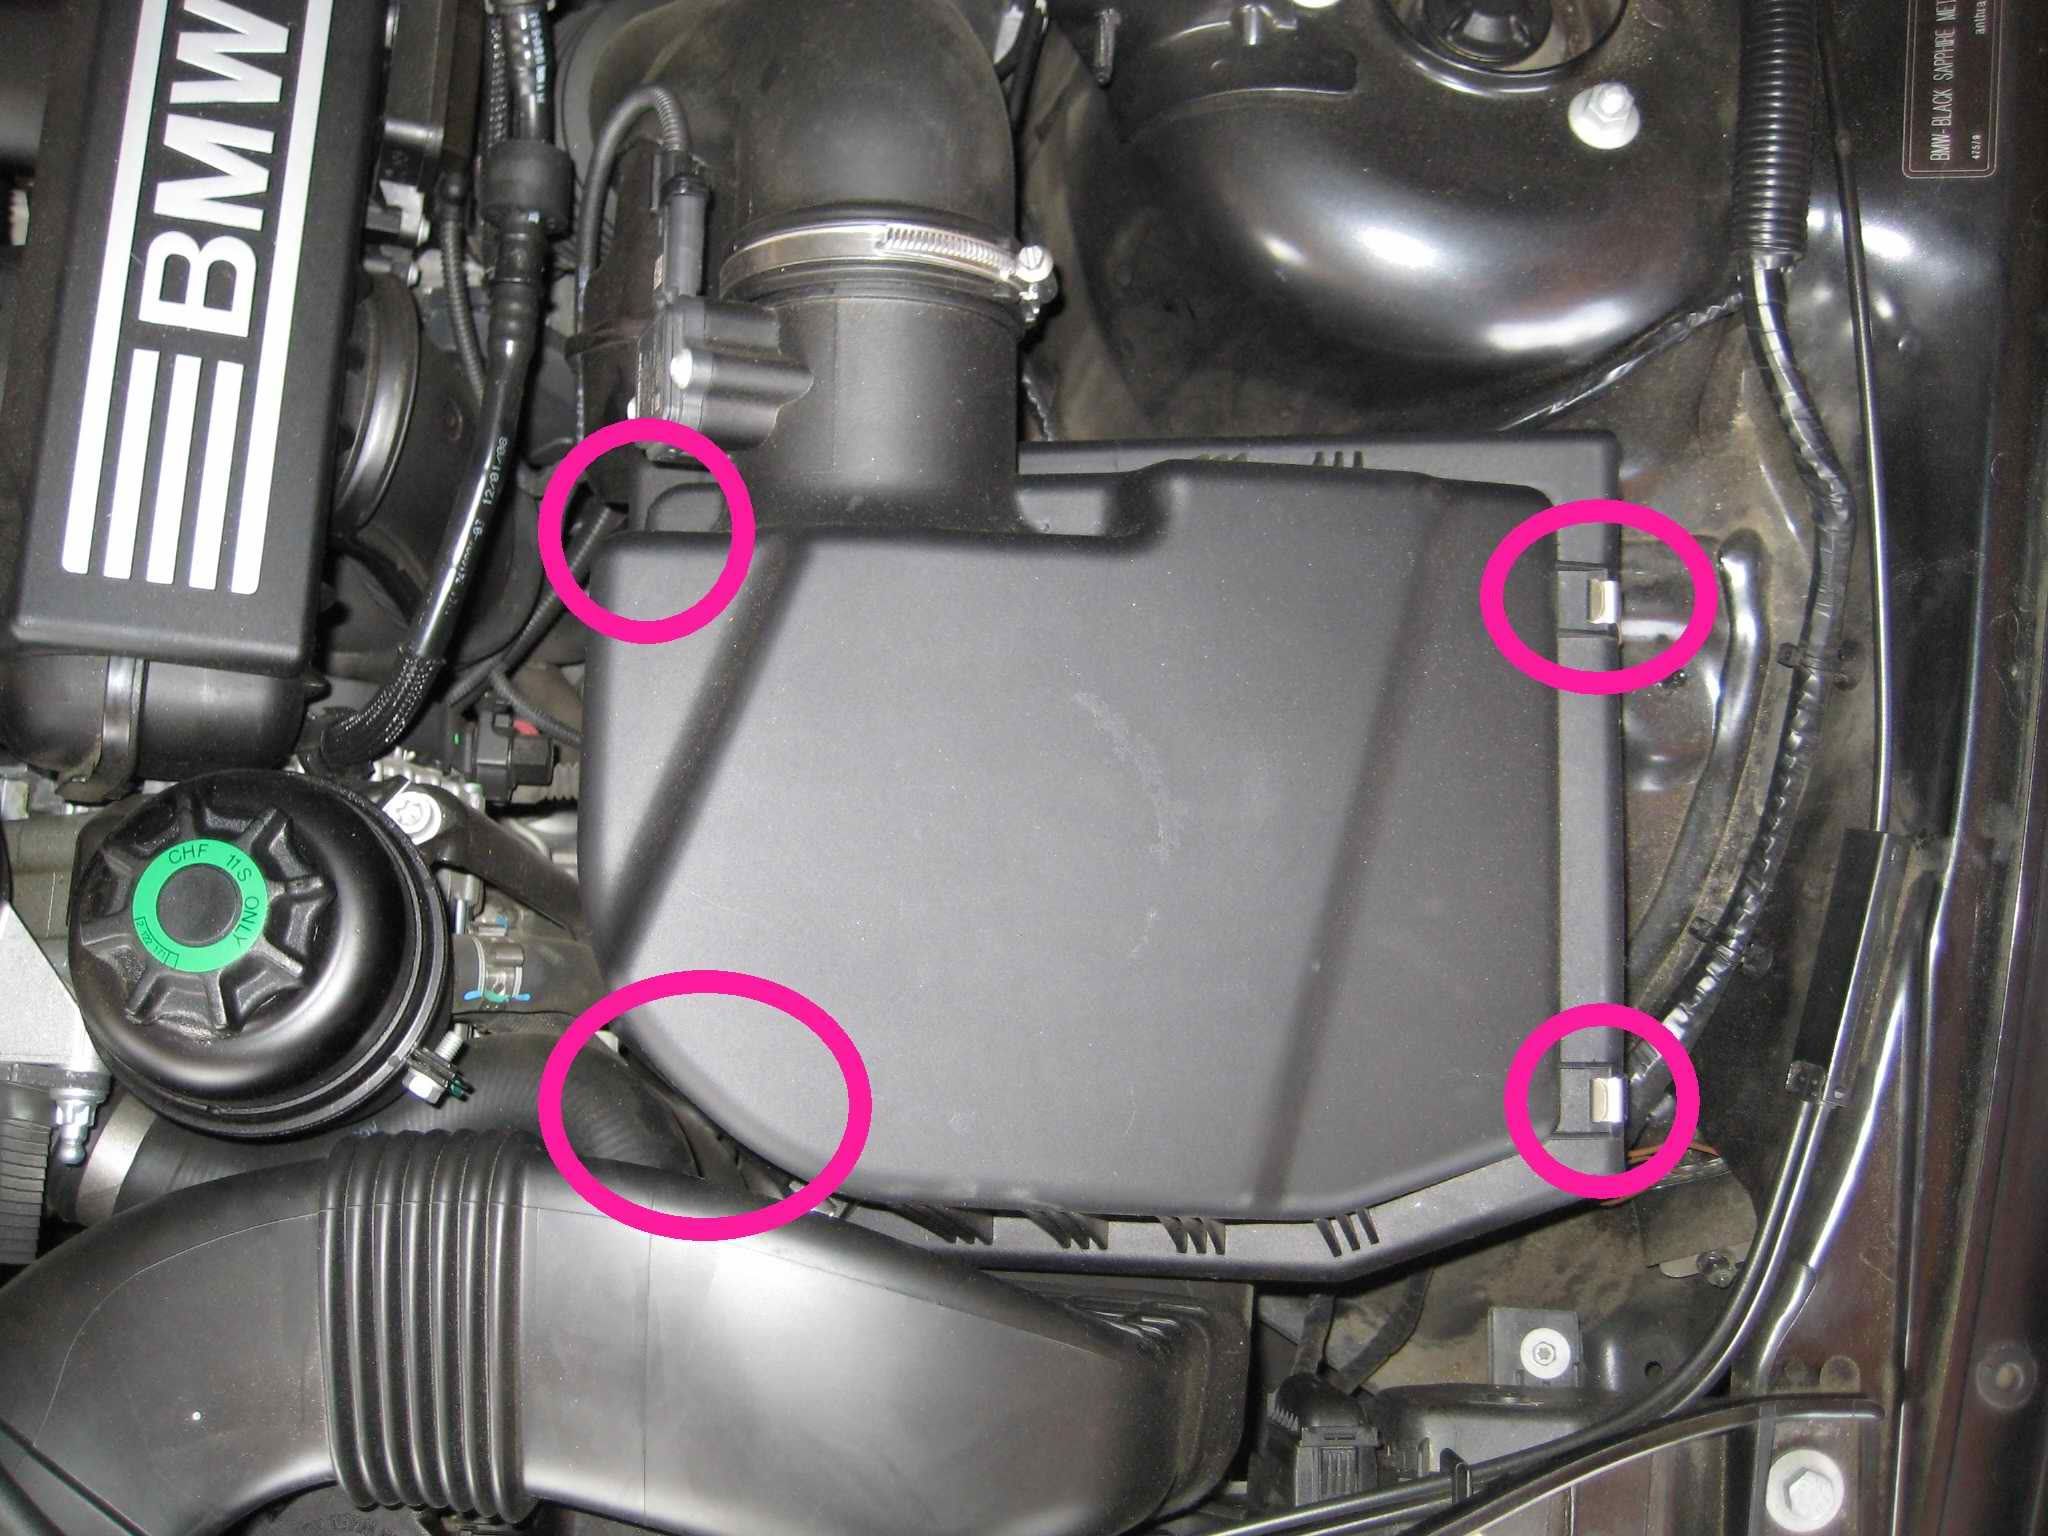
Unsnap the 4 clips to access the air filter element
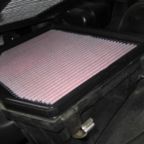
Open the air box a bit so you can slide the old filter out. I usually vacuum the air box out before installing the new element in case there’s leaves, dirt, or debris in the air box.
With the filter removed, it’s a good idea to clean the entire air box when replacing the air filter element
Tech tip:
I purchased a K&N Air Filter for my 2008 X3 because it will help make a few extra horses. K&N filters are reusable and need to be cleaned every once in a while to ensure optimal performance. After cleaning the filter, it usually takes 24 hours to dry, sometimes I wait even longer. I recommend not throwing away your old paper filter – instead set it aside to use in case you need to drive while your K&N type air filter is drying. By the way, I bought my K&N air filter on eBay and it was inexpensive, only a few dollars more than a paper filter. A K&N type air filter will also help produce better mileage as well as more power. Here’s a link to the proper K&N product for your 2008 BMW X3 (type E83, engine type N52B30:
Coolant level inspection:
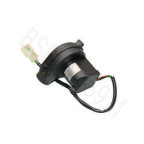
First, make sure the engine is dead cold before you start. You don’t want 200 degree coolant spraying and burning your skin off, it’s not fun. In addition, the coolant level floater is calibrated for a dead cold engine, any other state might produce inaccurate readings. The coolant access neck is in the front of the engine, slightly to the driver’s side – it has a cap that looks like a four sided saw blade. Simply unscrew this by turning counter clockwise. You should be able to do it by hand, try to use a rag or towel if you need extra leverage.

The coolant level indicator should pop up and the high/low indicators should be measured against the top of the reservoir
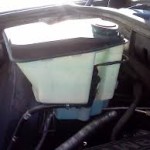
The floater should pop up, slightly past the top of the lip of the reservoir. If it doesn’t, SLOWLY add BMW OEM Antifreeze or distilled water until the floater reaches the lip of the reservoir, or sticks up slightly past the lip. This is the correct coolant level, make sure you don’t overfill the tank so much that the floater rises above the second marker. Again, it’s easy to add water and coolant, but tougher to drain any excess. Ideally you want a 50/50 mix of BMW coolant
and distilled water, but 40/60 or 60/40 is fine. Once you’re done, screw the cap back on firmly, but not so much that you won’t be able to unscrew it later.
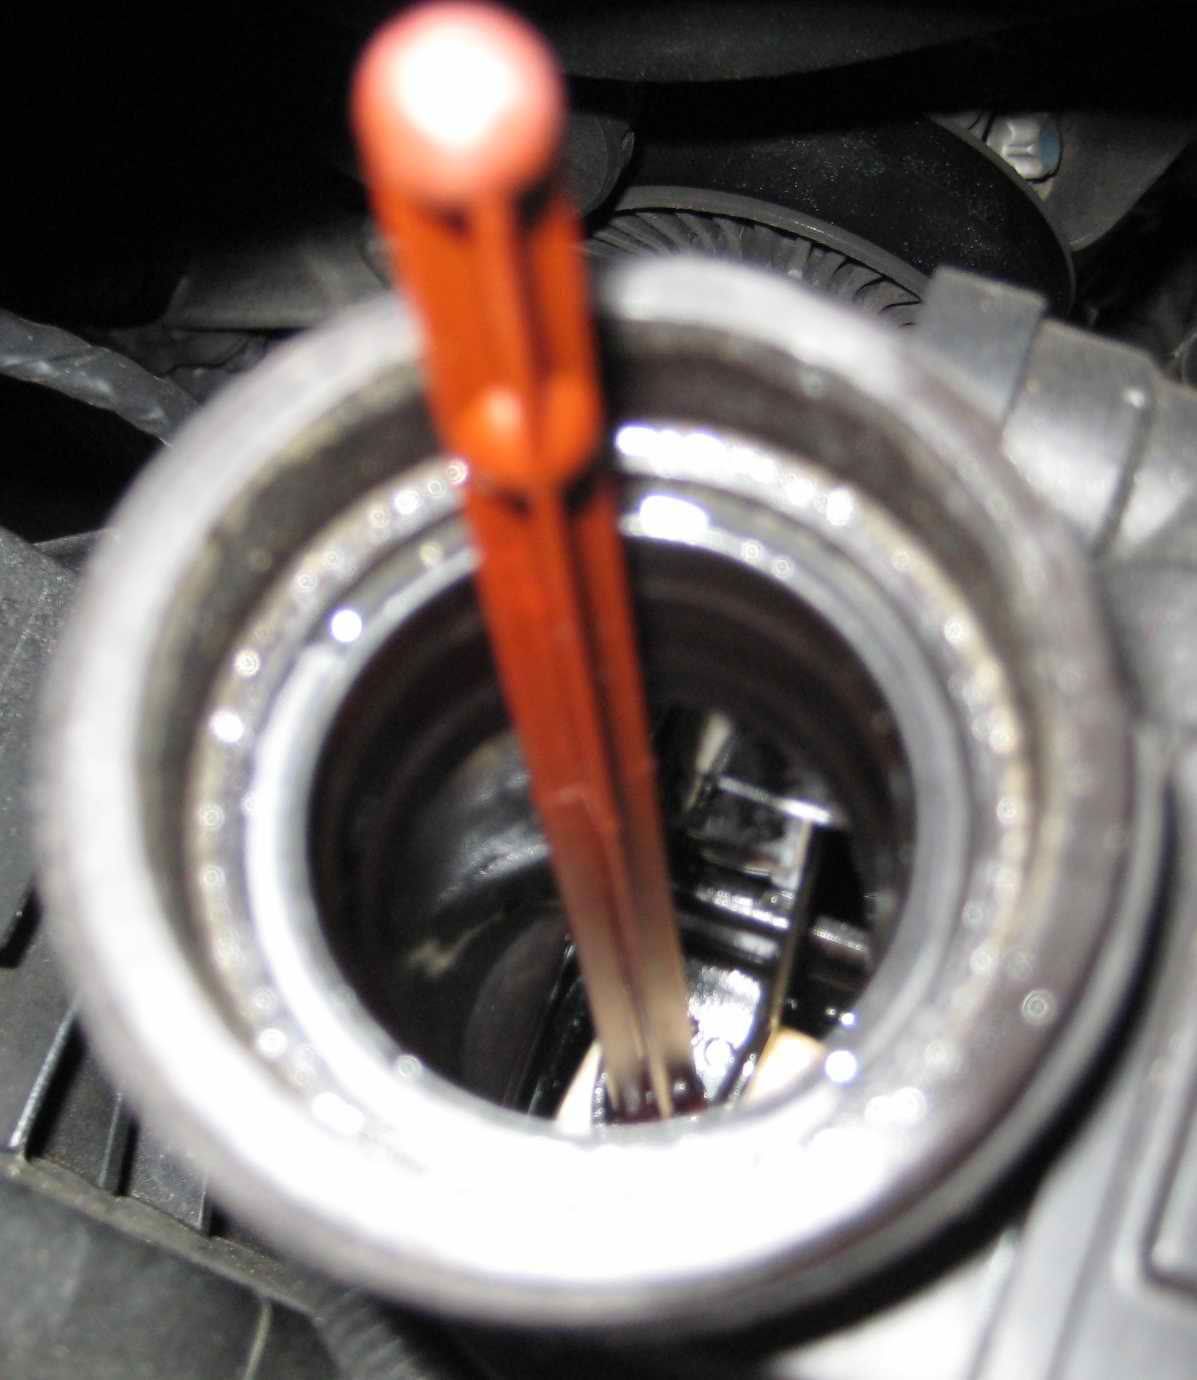
Here is the view into the coolant reservoir
That’s it – you should inspect these elements every oil change interval, and replace filters when they appear excessively dirty or worn. If these procedures were helpful, please comment, Facebook like, or Google+ this article so others can find it. Also, bookmark this article so it’s available for future services.


")